


As I write this, it is undoubtedly about to be wreath season (November) – but I’ve always thought that beautiful decoration made from the gatherings of nature and the garden is something that could be done beyond the holiday season and enjoyed year round. This is your guide to how I make DIY Christmas Wreaths from my garden cuttings – and in this case – specifically inspired by mandala art.

Of course, it is true – there are already wreaths for Easter, St. Patrick’s Day, Fourth of July, and just about any holiday we can imagine. But I am not drawn to these typically color-coded cartoon creations. Rather, I crave something less of the hallmark and instead using what is fresh and beautiful at that time. It is a seasonal challenge that I like to accept – to make my own Christmas wreath but only to use what I find on walks in the woods in new and interesting ways. This is a tutorial for craft stores avoidant wreaths for those of you who have a similar aversion to dollar store drama and hobby lobby hate. Or maybe you just like a natural wreath with a color palette and materials choices that reflect home and the landscape.
The DIY Christmas Wreath-Making Workshop
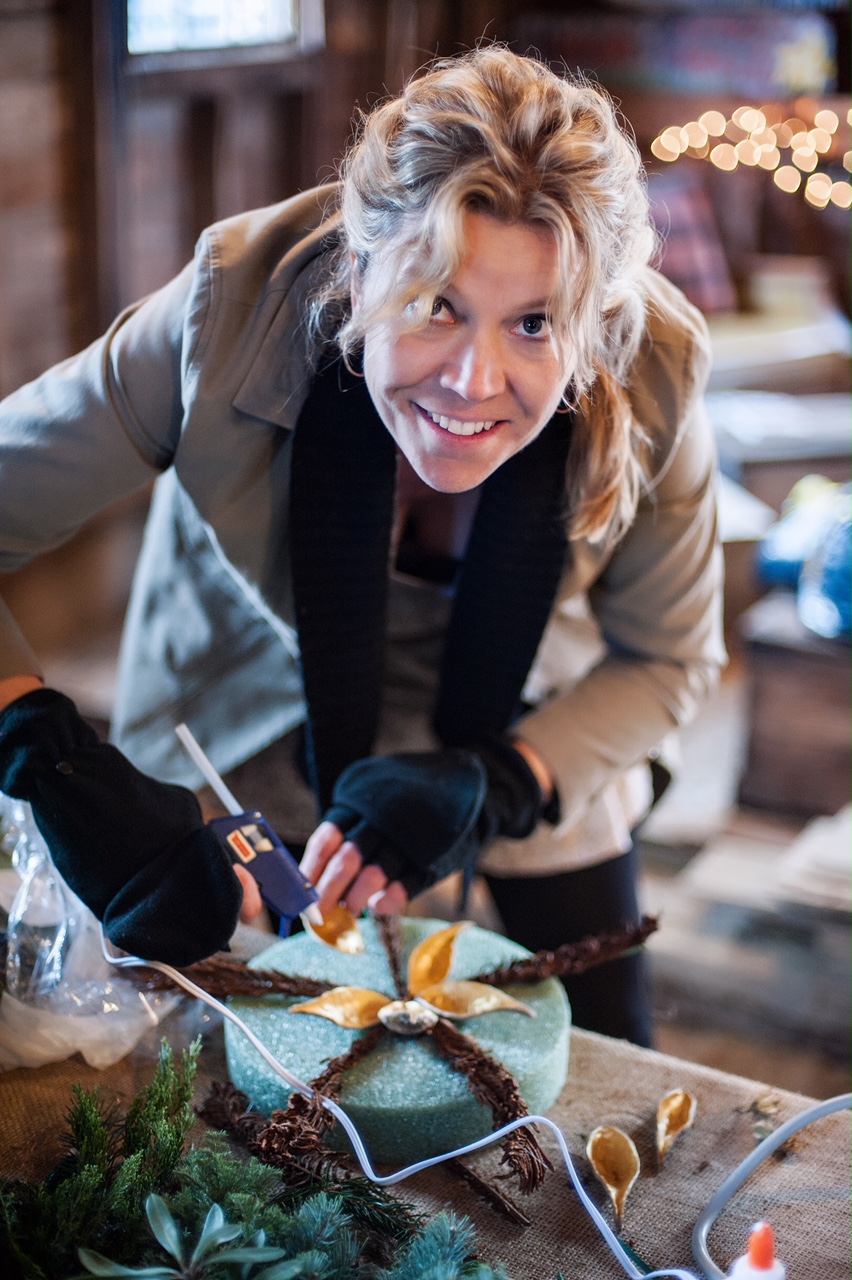
A few years ago, my friend Roanne shared some inspiring wreath designs with me that she saw at an event in Cooperstown, New York. They were less wreath and more sculptural medallions. Running with the idea ourselves, we created a class to make what we called mandala wreaths. We held the class in my barn, and the creations of our students surpassed our wildest expectations. It is something we might do again at some point, but until then, I thought I would share with you some of the works from the day as well as a tutorial to make your own front door holiday wreath (with a mandala twist).
Our class was held in December, and at this time of year, seed heads, holiday greens, and late fall garden cutting were our material sources.
Making something at another time of year might include other elements.
I’m personally drawn to using bulbs and experimenting with them as they grow in the arrangement. (I don’t know, can I even get them to grow well enough to be enjoyed?).
Dried and fresh flowers – or flowers that can dry in the arrangement are also appealing to me, as are the textures of bark, moss, mushrooms, lichen, feathers, and leaves.

Here are some of my favorites from our class, and I’ll share how we made them below:
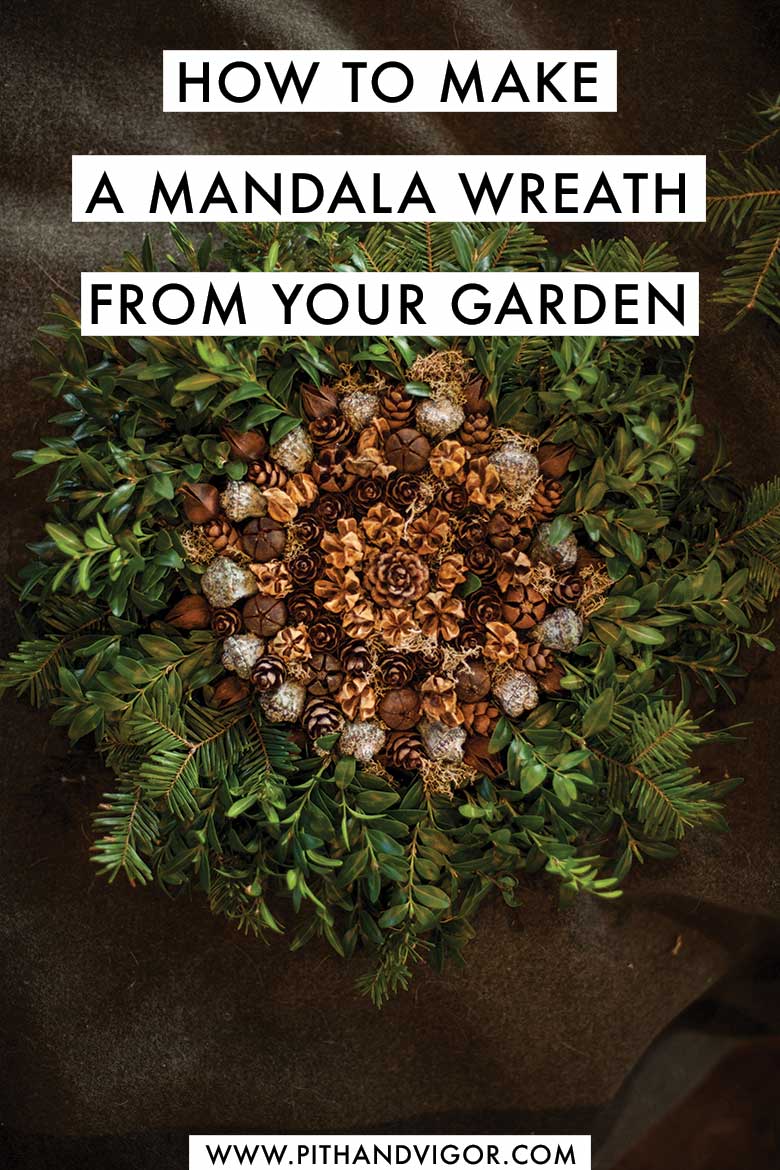
Pine cones, seed heads, boxwood, and other fresh greenery combine to make this textural wreath.
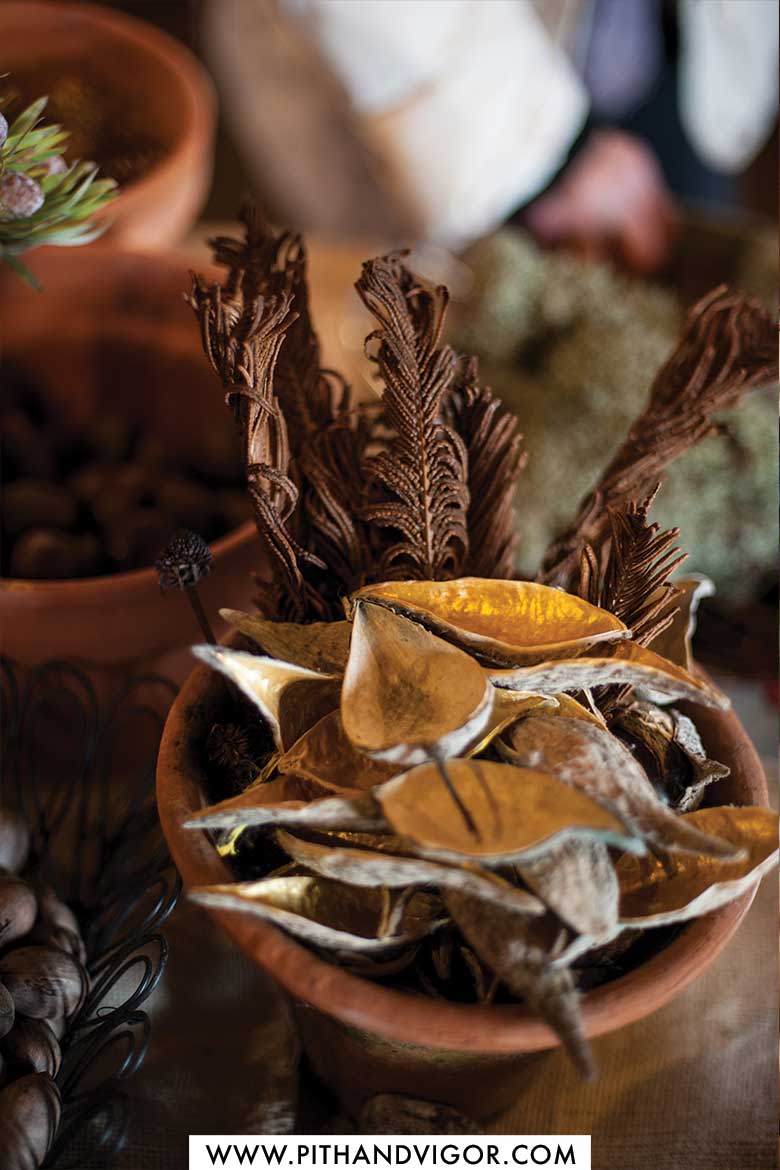
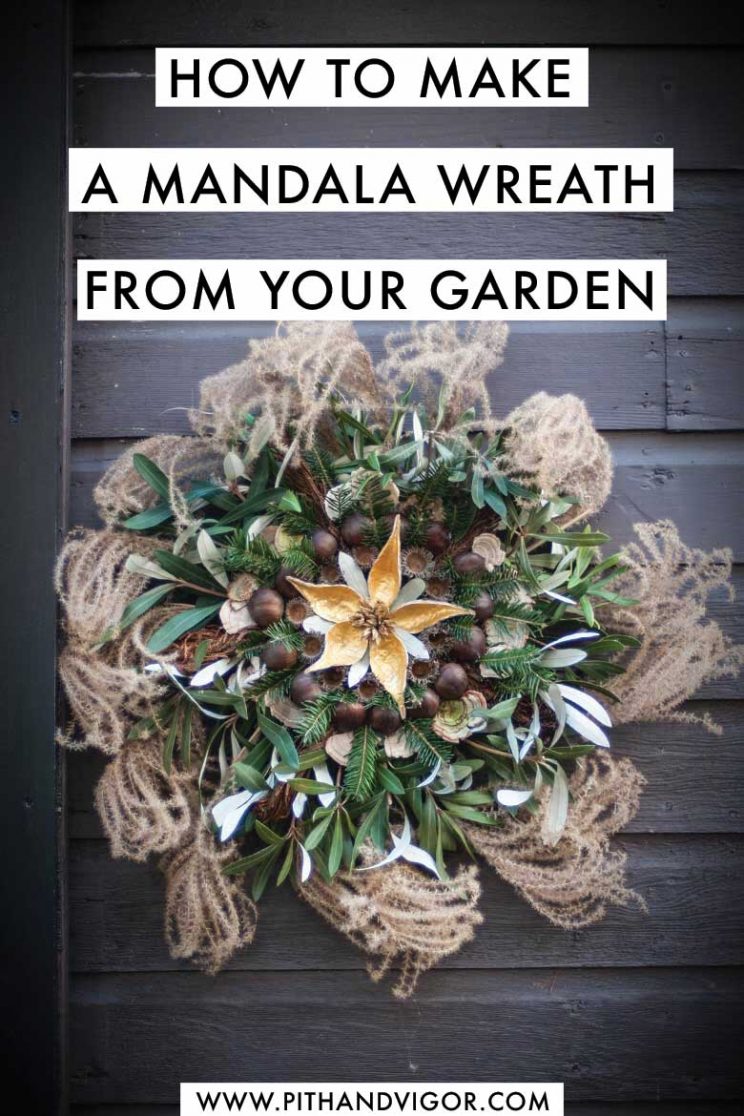
Chestnuts, milkweed pods (with their insides painted gold), miscanthus seed heads, eucalyptus, and mushrooms.
How to make a Mandala Inspired DIY Christmas Wreath
In order to create these wreaths, we gathered as many interesting materials as we could find in our gardens and invited students to raid their own gardens and resources for additional materials to share. The results were amazing, with an inspiring selection that far exceeded my imagination.
I recently made another version of this type of DIY wreath, but in a slightly different way than the originals. I’ll share both ways – but either option is great. However, one of them might save you some time if you want to rush.
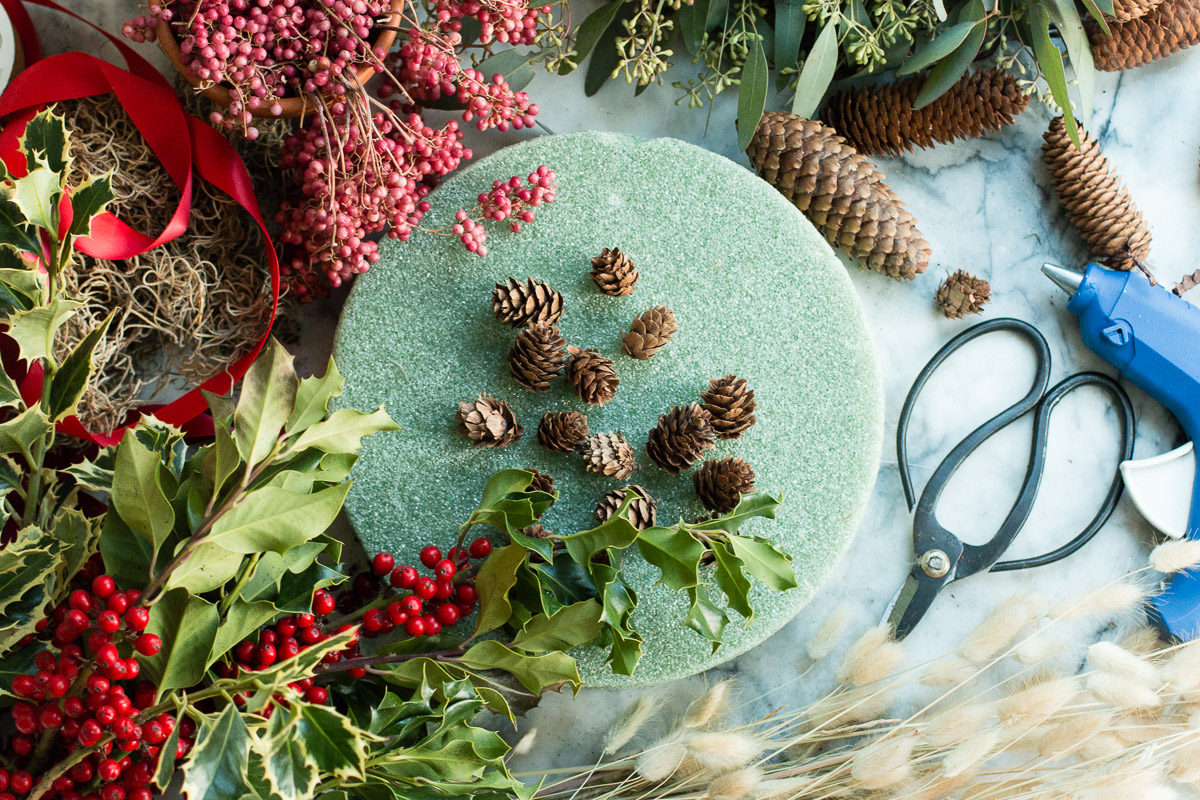
Step 1 – Gather your materials
You will need a good selection of wreath supplies, cuttings, and floral stems. Look for textures and colors in the landscape and items that will age well and do not need to be kept fresh in order to stay beautiful. This is like the Piet Oudolf version of wreath making – as in – does it look good dead?
If you are uninspired by the selection of plants you have to harvest from, remember that you can transform things with a little bit of gold spray paint. Look for texture as a base. You can also add in other natural elements that you might find in the kitchen (like cinnamon sticks or dried orange slices).
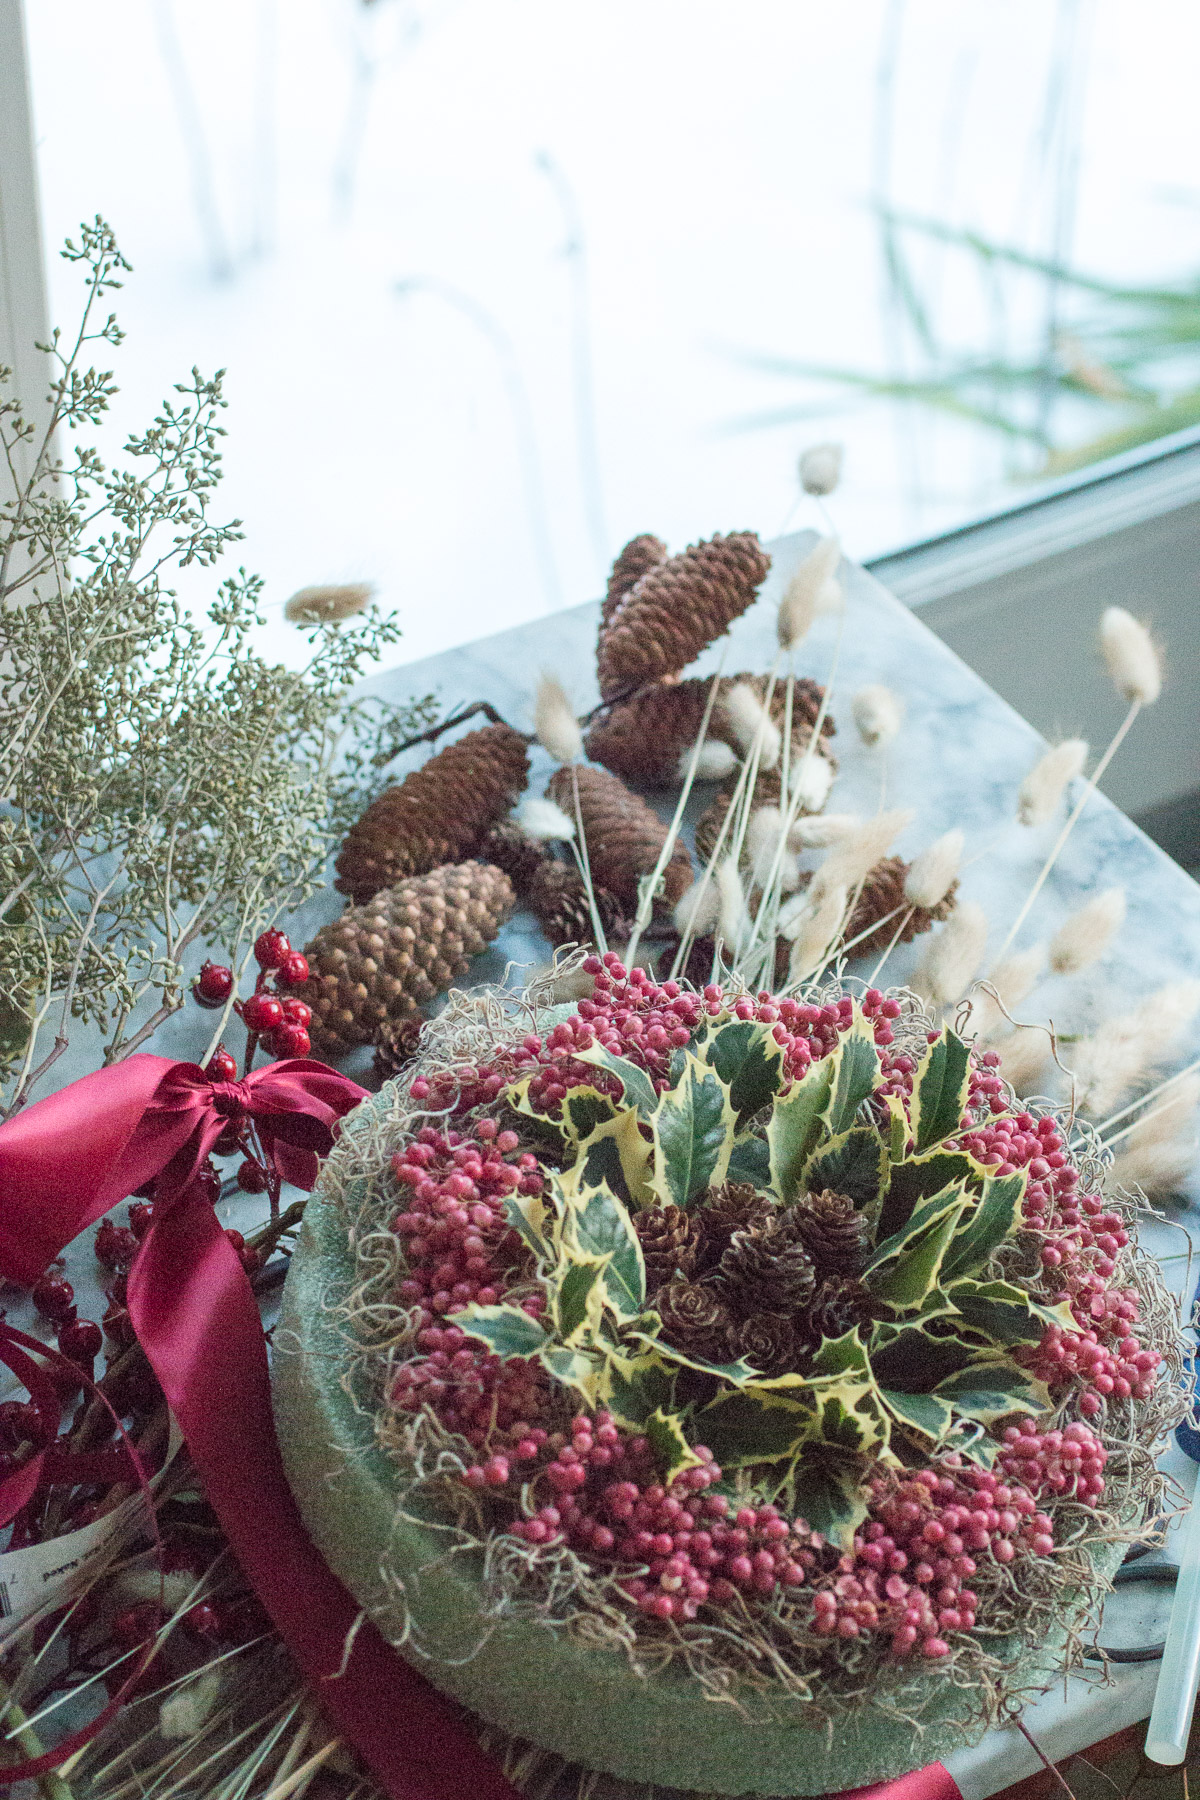
For this demonstration, I used variegated holly, pepper berry (you can also use callicarpa for a similar, but purple, effect. Classic red berries from a variety of winter shrubs are always perfect). As well as Eucalyptus flowers and leaves, string moss, and variegated boxwood. You will also need a few basic supplies. A floral foam disk (this is not the variety that holds water – just regular foam), hot glue and a hot glue gun, floral wire, wire cutters, and ribbon (if you are into bows and that kind of thing).
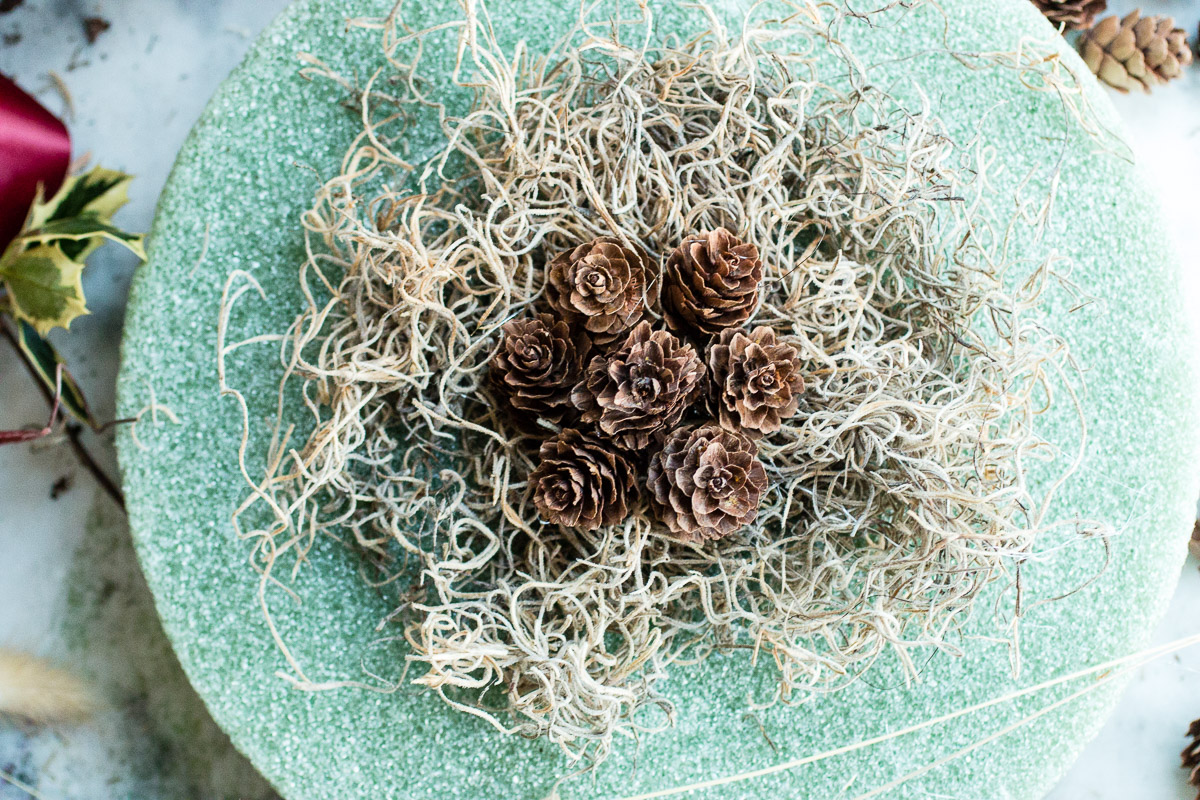
Step 2 – Begin in the middle
For this wreath, I started by creating a focal point with a cluster of small pine cones. It is important to cover the foam completely as you go. A variety of mosses can be used as a backdrop to your main materials. They will fill out the spaces in between.
There are two ways to attach items to your foam. The foam is made to hold florals whose stems you can poke into the structure. You can also use floral picks depending on your materials. This will help to hold items that are bigger and need more support. You cannot, however, do this for every element, or your foam will simply become too full of holes to hold anything. For most things, opt for glue. Glue works so long as the items are not too heavy. Don’t use too much glue – particularly hot glue. The hot glue can melt the foam, and too much of it can make it difficult to poke items through. A floral pin (with a pretty tip) might also add to your design.
How to deal with Heavy Natural materials
If you are planning to use a lot of heavier items, consider wrapping the disk loosely with chicken wire, and filling the gaps with moss. This will give you a second layer and a more sturdy secondary structure to attach elements with wire.
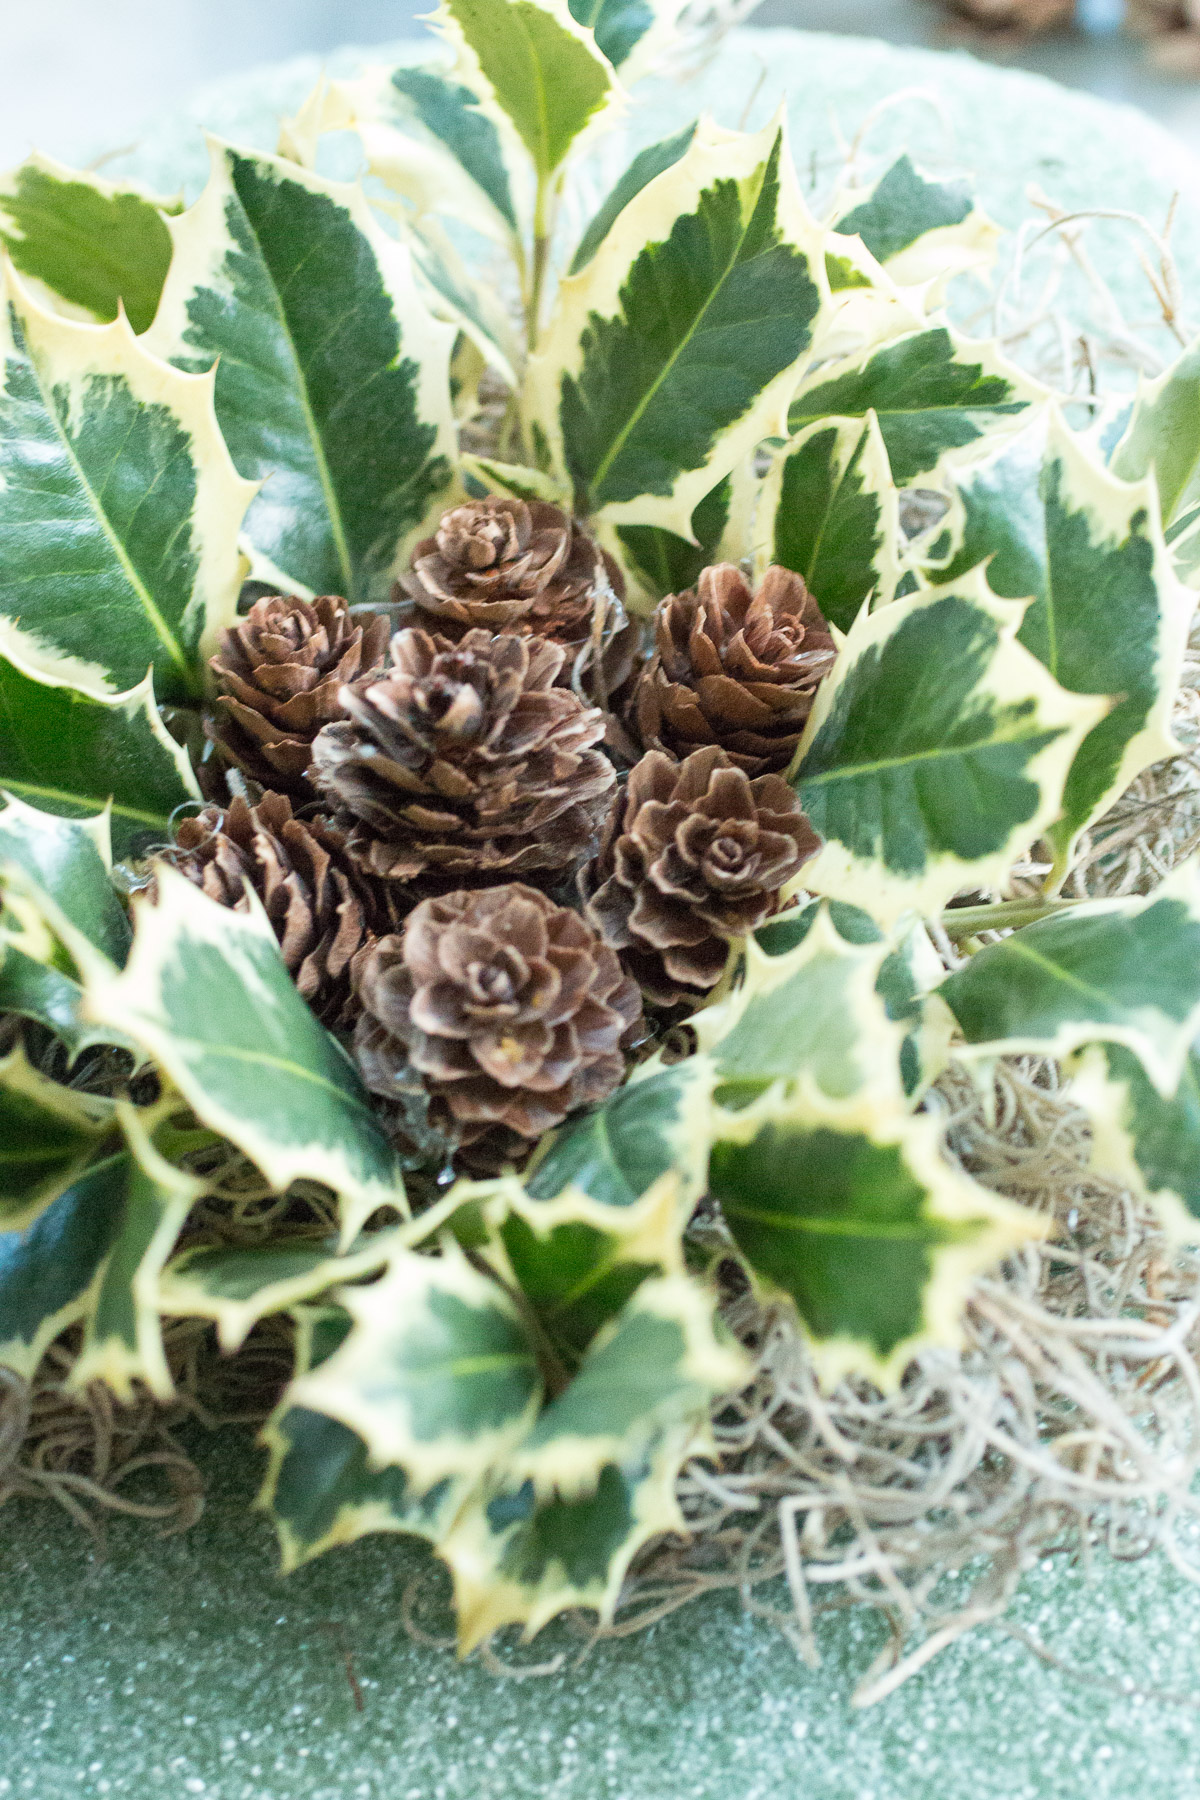
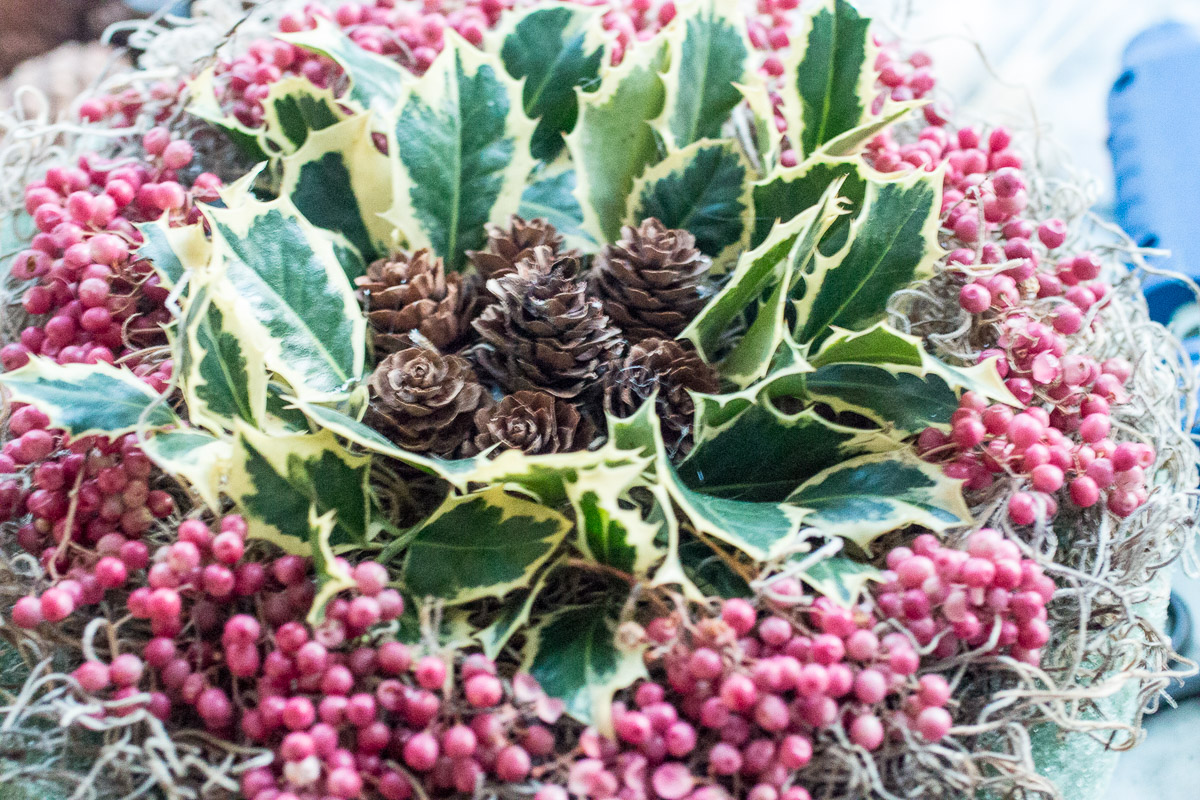
Continue to build your central disk in the spirit of mandala making – from the center out. Work slowly and methodically, letting smaller circles become bigger concentric rings by adding new details and layers as you go.
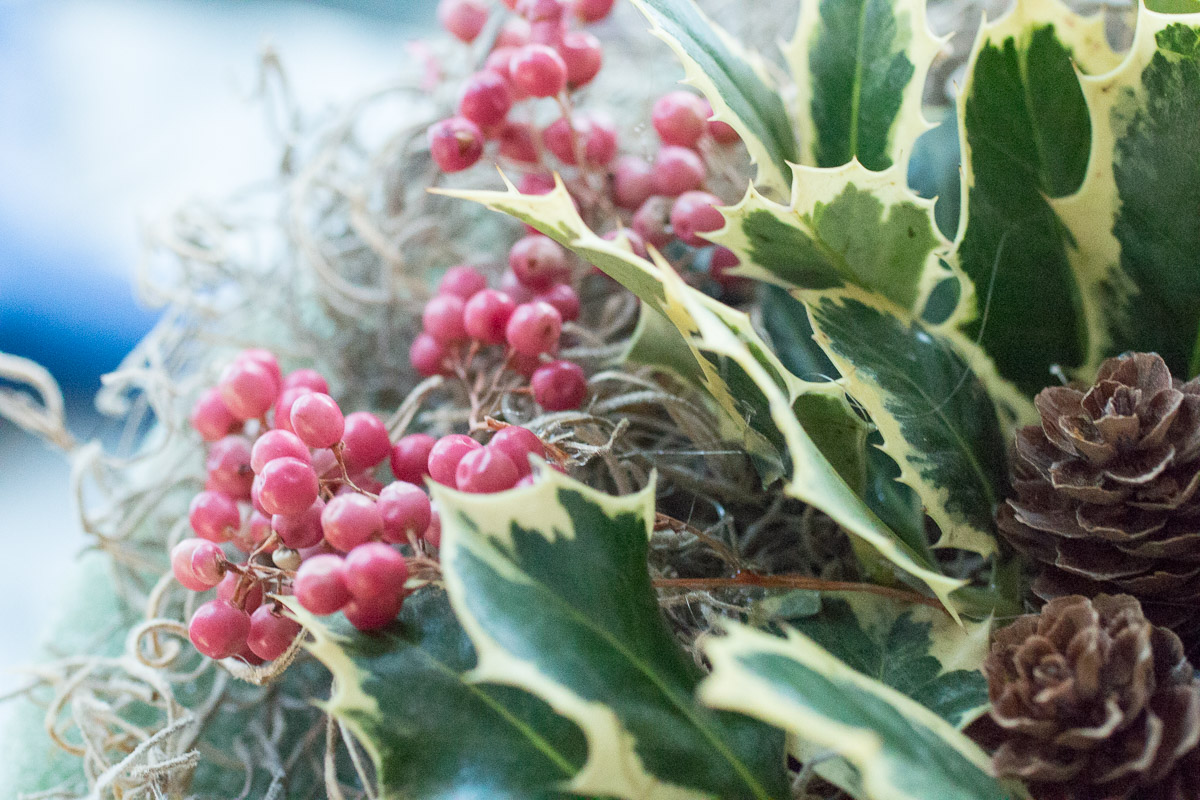
My next layers were added as I built out from the center. The variegated holly had stiff enough stems that I could fix it to the foam directly. Nevertheless, I still used glue to fill in with individual leaves as I needed. The pepperberry did not, however have strong stems, so those were glued directly to the moss, which was in turn glued to the foam.
Christmas wreath DIY Tip:
When using hot glue for any project, It is easier to avoid all the little strings of glue in the first instance than have to try and remove them later. I find that putting the glue on individual pieces, away from the main piece, allows me to control those inevitably irritating strings. The glue gun doesn’t go near my finished piece, and the string issue (mostly) stays to the side.
Step 3 – Finishing the outer edge of the wreath
There are two ways to finish the edges – the quick way or the slow (but arguably more creative) way. The quick way is to fit your disk into the center of a ready-made fresh pine wreath. These are built on a variety of wreath form-size frames. You can easily find one that fits around the outside of your mandala disk. Alternatively, you can make your own wireframe or purchase one and wire a variety of evergreen cuttings to the frame.
Not shown here, but also entirely workable is to fashion your own grapevine wreath to the perfect size to fit around your central medallion.

This one, made of variegated boxwood, was souped up from the store-bought original with the addition of eucalyptus flowers and leaves.
The disk and the diameter of the wreath need to be similar (but not an exact match). The foliage of the wreath will take up the slack and you should be able to wedge the disk into the center of the wreath firmly. In this instance, the disk was about an inch less in diameter than the wreath hole, but that worked perfectly and fit tightly.
Push it in from the back of the wreath and then fill in the gaps between the two pieces with extra materials.
Option 2 for finishing the outer edge of the DIY wreath
Alternatively – you can do as we did for all the pieces above. Those wreaths were all built onto the disk directly and the greenery around the edge is fixed to the disk by shoving branches into the sides of the disk. This is certainly more time-consuming. It also helps to use some Elmer’s glue to prevent branches from falling out of loosening holes as you work. This way allows you to have a bit more control of the placement and selection of greens.
If I am adding any box – I am a big fan of the floppy large bow. The kind that is more like a romantic clump of pretty ribbons and not something that takes a whole lot of skill to create.
The wires and all the tediousness of twisting glitter-laden polyester just right to make these poofy concoctions is not something that pleases my eye or my temperament. To make floppy bows, I use a mix of at least three different widths of satin or velvet ribbon that are of the same or similar color. I love a two-toned combination of red ribbon and burgundy at the holidays. This bow, of all burgundy, is made by making a bow with the widest ribbon and then tying additional bows with the narrower ribbons onto it. Leave the streamers long and in varied lengths for a wispy, I-didn’t-try-too-hard look.

This wreath was raffled off at a local garden event that I recently spoke at. The lovely winner had never been to any events with this group, which proves that beginner’s luck even applies to attending garden club meetings.
More Ideas for Your DIY Christmas Wreath:
Here are some more ideas for your DIY Christmas garden wreath from students who joined us in the barn for our holiday wreath-making event:
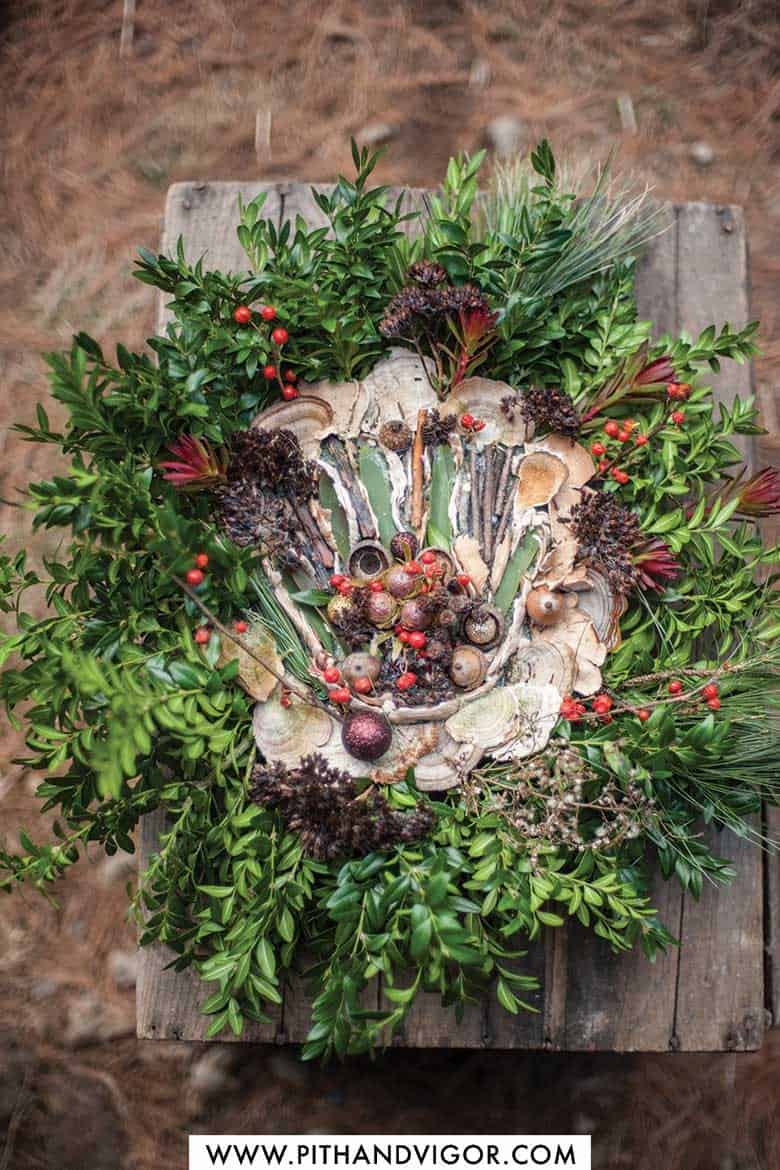
The Hand Wreath
Holly, mushrooms, acorns, boxwood, dried sedum and twigs make this hand wreath.
Mandala Grasses
Chestnuts, milkweed pods (with their insides painted gold), miscanthus seed heads, eucalyptus, and mushrooms.
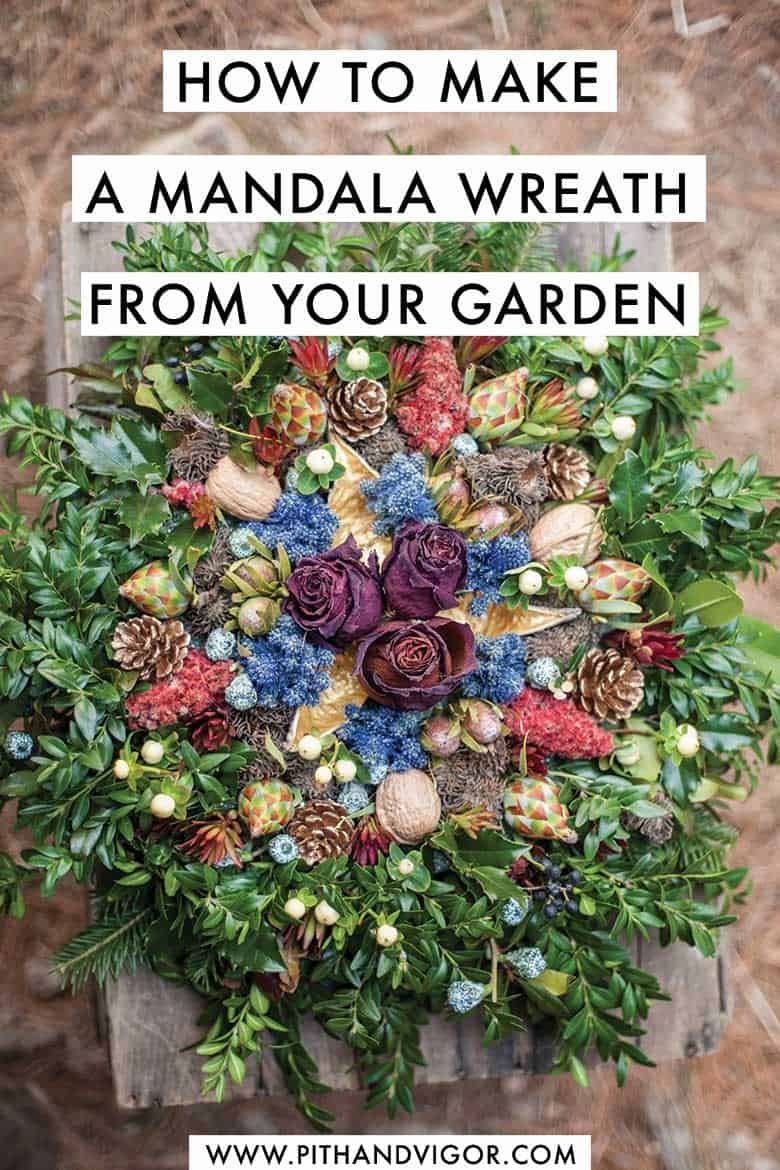
Dried Roses
Dried Roses, walnuts, greens, rhododendron buds, and pinecones fill out this medallion.
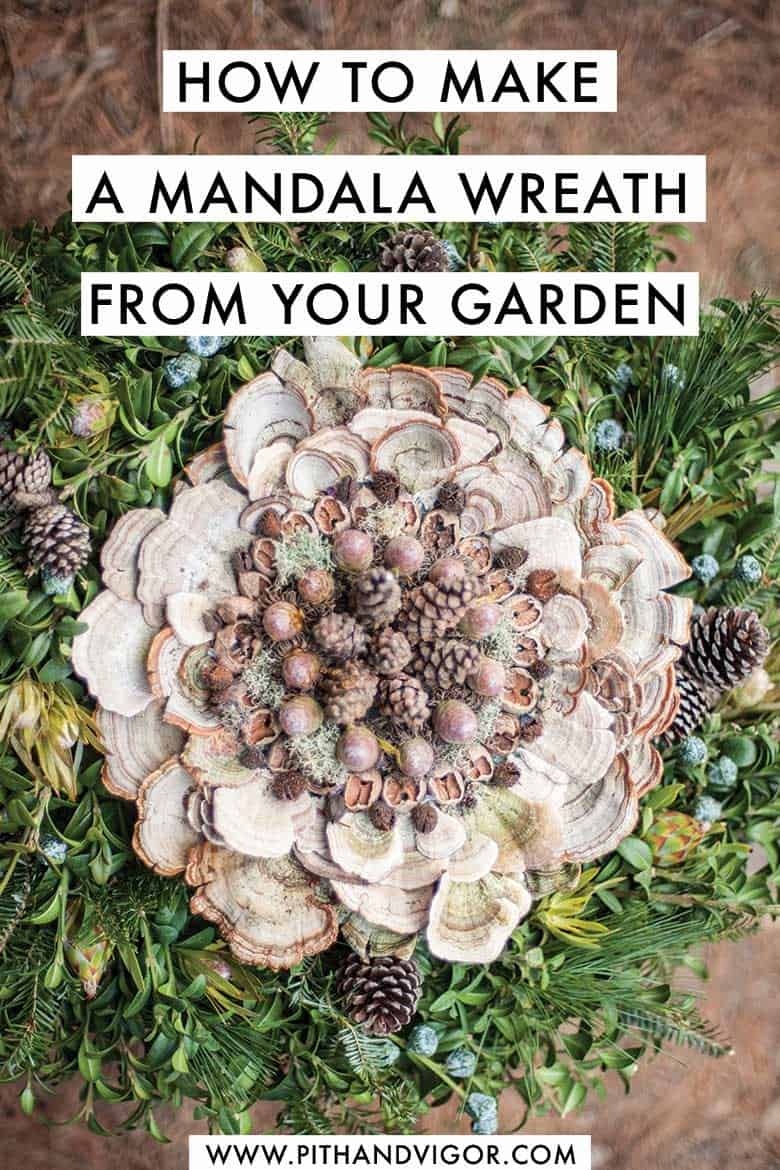
Mushroom Holiday Wreath
Mushrooms, greenery, pinecones acorns and a variety of seedpods make this wreath.
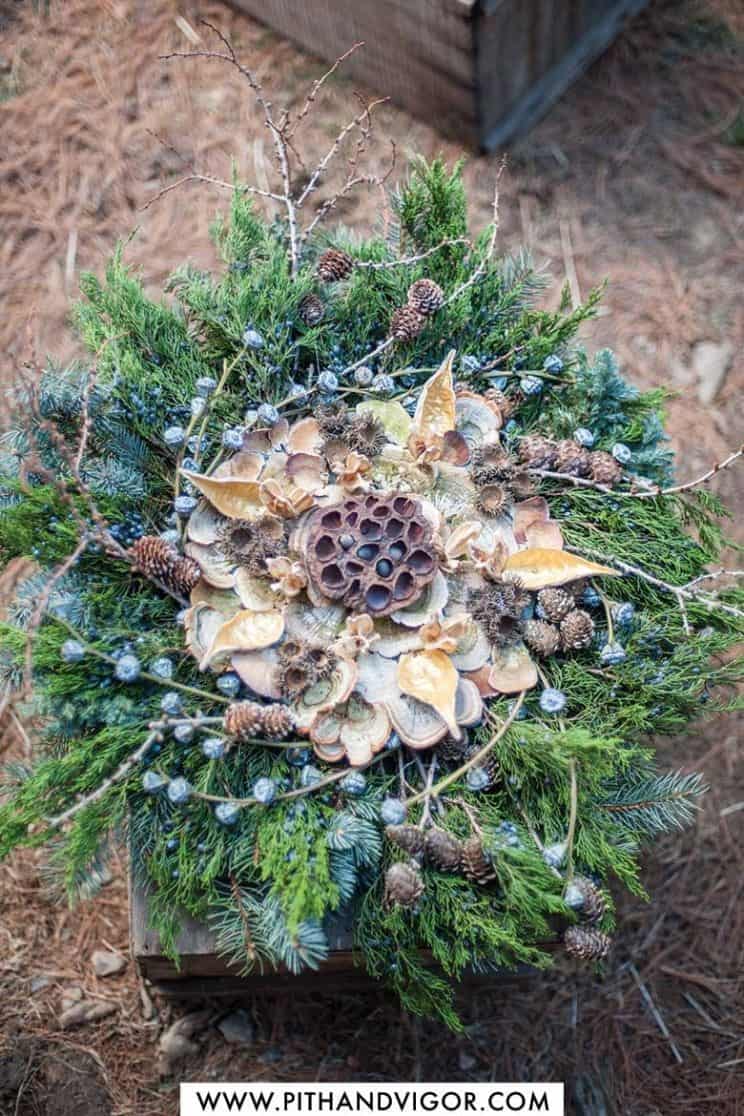
Branches
Wispy branches, conifers, spruce, pinecones, mushrooms and milkweed pods.
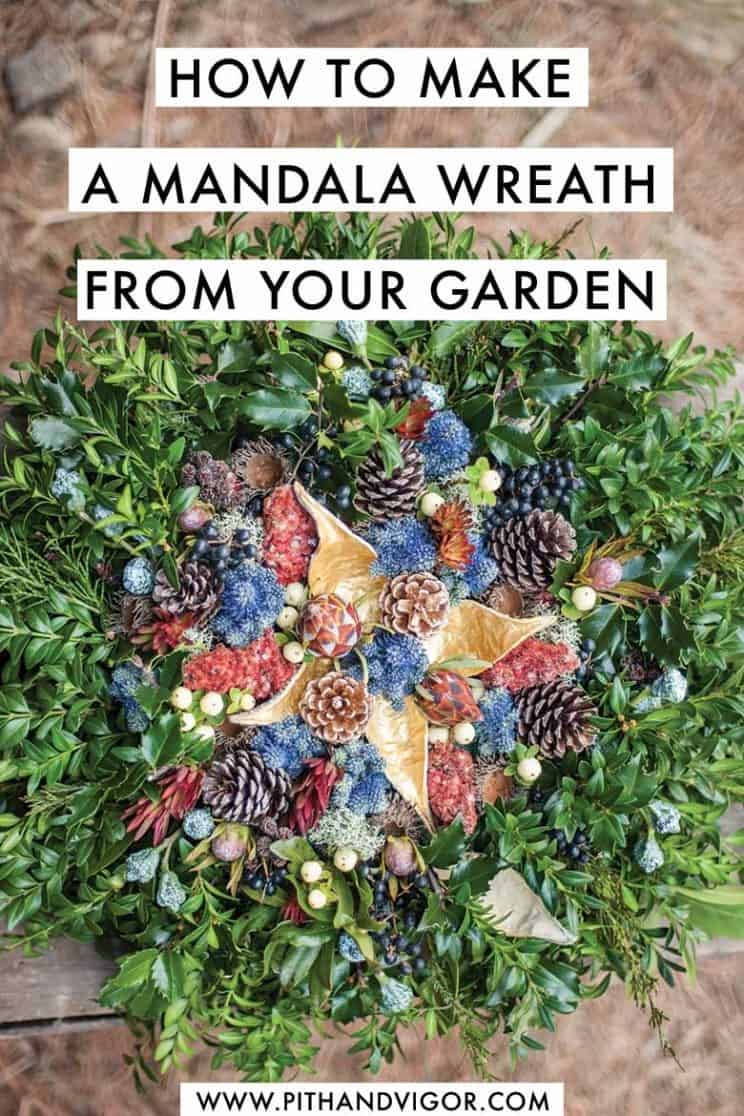
Blue Moss Wreath
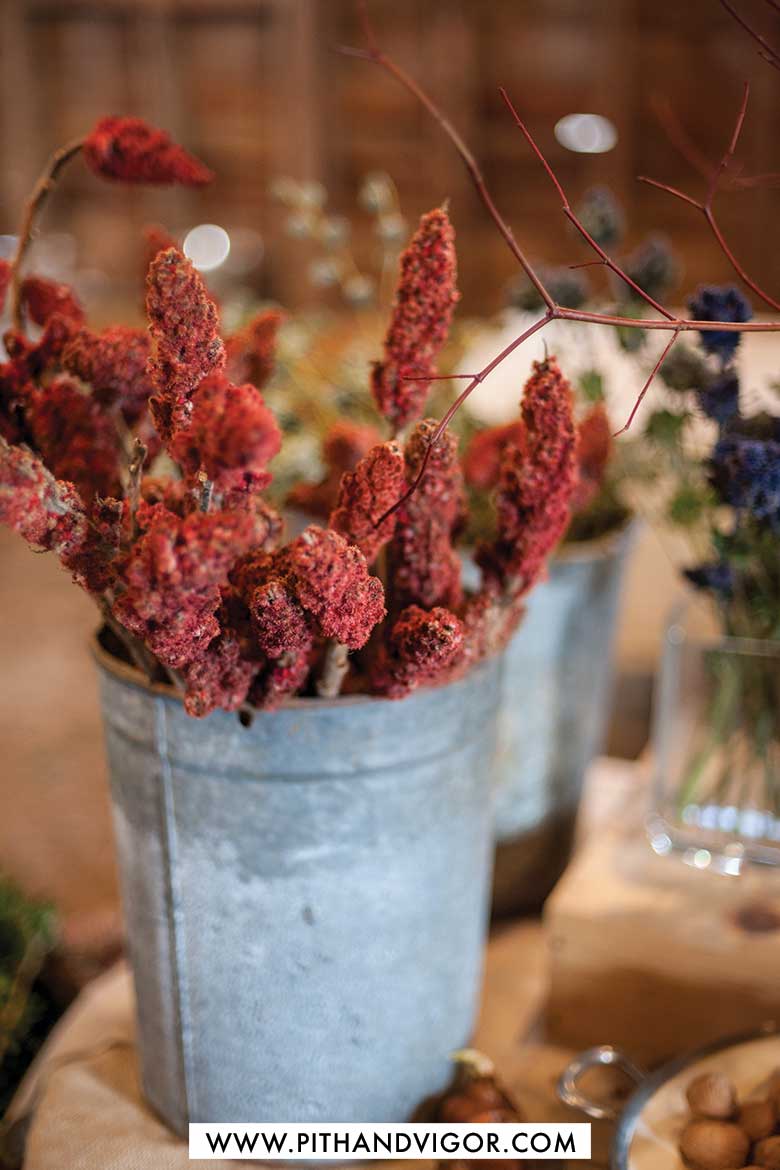
Moss, greens, St Johns, Wort, sumac, and, I am not sure what the blue was!
Links to buy DIY Christmas Garden Wreath Materials
(these are affiliate links)
- Foam Floral Disk
- Glue Gun and Glue Sticks
- My Favorite Snips for Foraging Materials
- Floral wire
- Ribbons
Questions about this DIY project or how to make your own wreath? I am happy to answer in the comments!
Other posts you might be interested in:

comments +